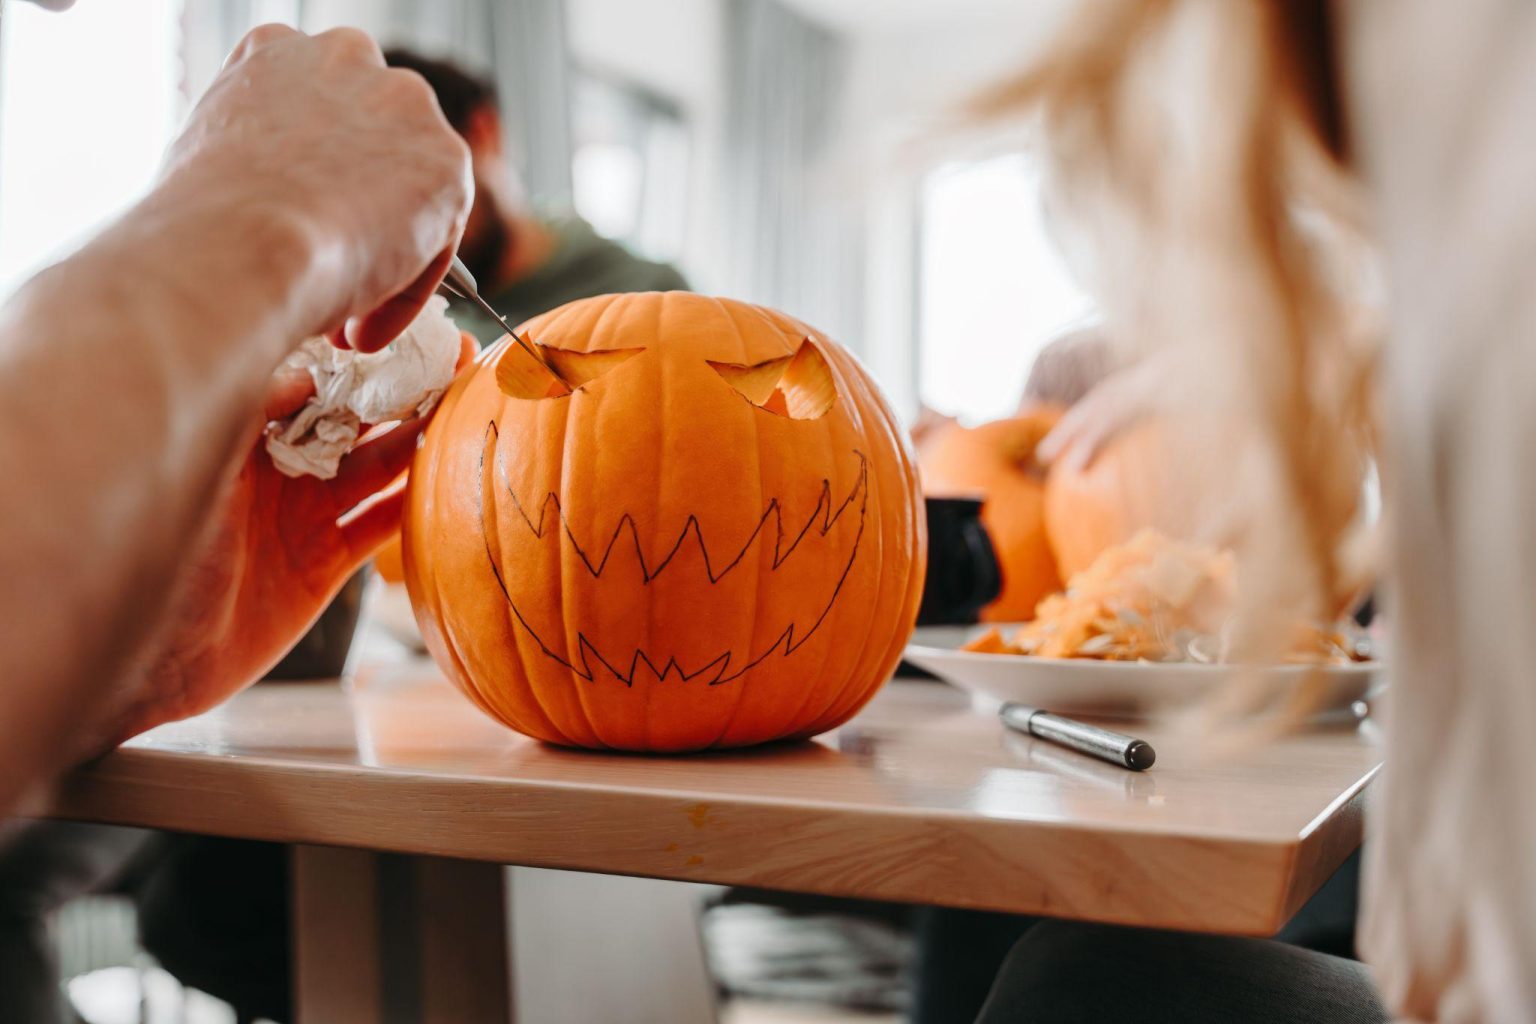
Families have been offered eight tips to help them carve the ultimate pumpkin or jack-o’-lantern this Halloween.
Lighting experts from LightingLegends.com have revealed everything from how to choose the right pumpkin, to preventing potential fire hazards.
(Image source: Shutterstock)
Using the right tools and planning designs before diving in can help prevent common carving mistakes that might leave pumpkins looking worn out and dreary this Halloween.
Carvers have also been told to cut holes in the bottom of their pumpkins instead of the top, as this will help to keep the sides sturdier and prevent the pumpkin from caving in over time.
To extend the life of carved pumpkins, families have been told to apply a thin layer of petroleum jelly or vegetable oil to the cut edges, and soak it in a water-and-bleach mixture to reduce the chances of it drying out, rotting, or developing mould.
And when it comes to lighting your jack-o’-lantern, using real candles can be a fire risk, particularly if left burning for extended periods as pumpkins can dry out and become flammable, so it’s important to consider safer options.
The lighting experts recommend using battery-powered tea lights or fairy lights to achieve the same spooky glow, without the fire hazard.
Jon Saeed, managing director of Lighting Legends commented: “Pumpkin carving is a great way to get into the spooky spirit – and whilst it isn’t an exact science, there are a few things that everyone can do to make sure they turn out right and last as long as possible.
“Common mistakes like rushing through the process or using the wrong tools can result in uneven carvings or pumpkins that just don’t last.
“And while candles give that classic Halloween flicker, they can quickly become a fire hazard, especially in pumpkins that have dried out.
“With a little planning and creativity, you can carve spectacular fire-safe pumpkins and jack-o’-lanterns that will impress your neighbours and trick-or-treaters alike.”
Here are eight tips to carve long-lasting pumpkins this Halloween:
- Pick the perfect pumpkin
Choose a pumpkin that’s fresh, firm, and free of soft spots or bruises. This usually ensures that it will last longer once carved. Try and find one that has a smooth, even surface to make the carving process easier, and a flat base so it stands upright without wobbling over. Also, look for a pumpkin that suits the design you have in mind – round pumpkins are great for classic faces, while taller ones might work better for more intricate or vertical designs. You should also check the pumpkin’s stem. A sturdy, firm stem not only indicates a healthier pumpkin but also makes it easier to handle while carving. Avoid pumpkins with soft or dry stems, as this could mean the pumpkin is already starting to decay.
- Use the right tools
Invest in a pumpkin carving kit, which usually includes tools like a small serrated saw, scoop, and fine detail knife. These make carving much easier and the process will be a lot safer compared to using standard kitchen knives. For intricate designs, use a small paring knife or even wood-carving tools if you have them.
- Plan your design
Sketch your design on paper first or use a stencil, then transfer it onto the pumpkin using a marker or by lightly scoring the skin with a knife. You could use stencils of popular characters, scary faces, or even classic autumn designs like leaves, bats, and spider webs.
- Cut from the bottom, not the top
Many people cut the top of the pumpkin where the stem is, but cutting a hole in the bottom instead keeps the sides sturdier and helps prevent the pumpkin from caving in over time. Cutting the bottom also makes it easier to place the pumpkin over a light source.
- Scoop out the pumpkin thoroughly
Use a large spoon or a special pumpkin scraper to scoop out all the seeds and pulp. The thinner the walls (around 1 inch thick), the easier it is to carve and the longer the design will last, but be careful not to leave the walls too thin. Overly thin walls can weaken the structure, making the pumpkin more prone to collapsing or caving in.
- Preserve your pumpkin
To prevent your pumpkin from drying out or rotting too quickly, apply a thin layer of petroleum jelly or vegetable oil to the carved edges. You can also soak the pumpkin in a water-and-bleach solution (1 teaspoon of bleach per 3-4 litres of water) for a few hours before drying it, which should help stave off mould.
- Consider lighting and fire hazards
Traditional candles can be a fire hazard, especially if you leave them burning for long periods or if the pumpkin dries out. Consider using LED tea lights or fairy lights inside your jack-o’-lantern for a safer but equally spooky glow. Fairy lights can add a twinkling effect that lasts longer than a candle and keeps the pumpkin cooler.
- Step up your design
You can add colour to your pumpkin by painting it, especially if carving intricate patterns feels a little tricky. For extra flair, you could even consider adding accessories like fake spider webs, sequins, or glitter around the design to make your pumpkin really stand out.

