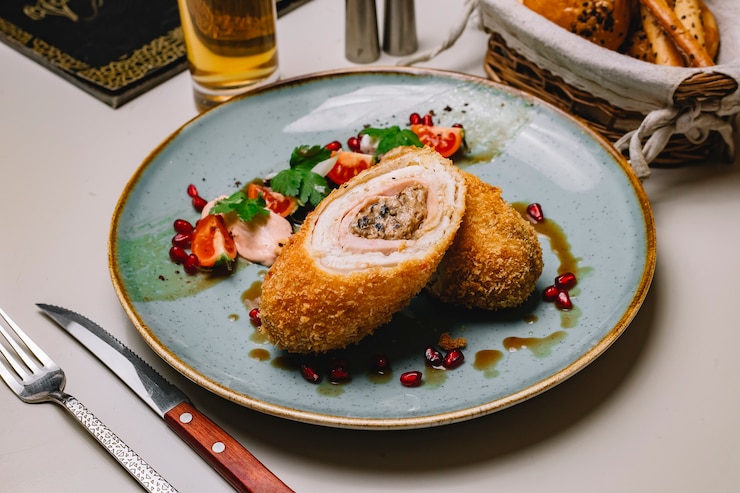
For a very long time, chicken Kiev has been served as more than just a meal; it’s a memory. It is as emotionally and gastronomically satisfying to cut through that golden, crispy crust and unleash a stream of melted garlic butter. It’s the type of cuisine that evokes fond memories while, when prepared well, demonstrating patience and accuracy.
Mastering the oven-baked Chicken Kiev at home just requires awareness; it doesn’t require restaurant-level training. To achieve a balance between texture and tenderness, preheat your fan-forced oven to 180°C and bake for 25 to 30 minutes. Not only is that timing practical, but it works incredibly well. Additionally, it guarantees that your butter stays blissfully intact until the very first bite when it is followed by a five-minute resting period.
Oven-Cooked Chicken Kiev – At-A-Glance Timing Table
| Step | Details |
|---|---|
| Oven Temperature | 180°C (356°F), fan-forced |
| Cook Time | 25–30 minutes |
| Resting Period Post-Bake | 5 minutes (essential to set melted butter) |
| Target Internal Temperature | 75°C (167°F) at the core |
| Optional Finish | Grill for 2–3 minutes to crisp exterior further |
Accuracy on a Plate: Why Timing Is More Important Than You May Think
Baking Chicken Kiev is similar to leading an orchestra in that harmony is achieved by carefully timing each component. Poultry could be undercooked if the cooking time is a few minutes too short. If you wait too long, your golden breadcrumb crust will dry out before it’s ready to eat. Using an internal thermometer and cooking to precisely 75°C guarantees food safety while maintaining a noticeably juicy texture in every bite.
Even though it’s frequently omitted, the extra step of resting is especially helpful. It stops a dramatic (and wasteful) escape the instant your knife strikes the center, allowing the bubbling garlic-herb butter to settle. For decades, this culinary technique has been subtly changing kitchens.
Innovation in Ingredients: Enhancing the Ordinary Kiev
The ease with which Chicken Kiev can be modified is what makes it so remarkably adaptable. The traditional version, which is full of butter, parsley, and garlic, never goes out of style. However, a few creative twists can significantly enhance the experience. Add fresh tarragon or dill instead. Add a piece of smoked mozzarella or Gruyère cheese. For a salty-sweet contrast, wrap it all in a slice of prosciutto.
Breadcrumbs are also subject to change. For extra crunch, try panko; for a deeper, nuttier flavor, add crushed cornflakes and Parmesan. Every modification is a tiny demonstration of culinary ingenuity, demonstrating that comfort food can be expressive as well.
The Pleasure of Building Kiev from the Ground Up
Making Chicken Kiev from scratch adds more than just flavor; it also conveys a sense of artistry that frozen substitutes cannot match. It’s up to you to balance the butter to chicken ratio. You can add seasoning to the breadcrumb coating. You can roll the shape. This dish encourages you to take your time and enjoy the process in a kitchen that is becoming more and more reliant on convenience.
It’s a surprisingly inexpensive luxury that uses ingredients very effectively and has a very transparent process. Kiev commands attention without requiring complexity, whether it’s for a Saturday dinner party or a Tuesday night dinner.
Quick FAQ – Oven Chicken Kiev Timing
How long should Chicken Kiev bake in the oven?
Bake at 180°C (fan) for 25–30 minutes. Use a thermometer to confirm a 75°C internal temp.
Can I finish it under the grill for added crunch?
Yes—2 to 3 minutes under the grill gives the breadcrumbs a golden, extra-crispy finish.
Do I need to rest the Kiev after cooking?
Absolutely. Resting it for 5 minutes helps keep the butter inside until sliced.
What ingredients can I tweak?
Try adding fresh herbs, cheese, or even cured meats like prosciutto for a personalised touch.
Is it better than store-bought?
Unquestionably. Homemade Kiev is fresher, more flavorful, and surprisingly easy to master.

